KD Fencing Guildford
How to Install Your Own Fence
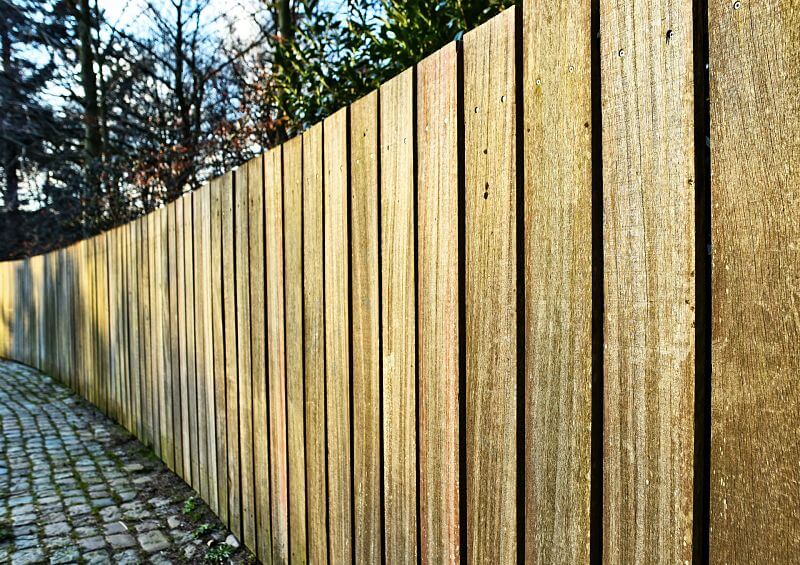
Many people find themselves in need of a sturdy fence for their property. Installing your own fence is not an easy task, but with the right tools and information, it can be done!
This guide will walk you through how to install your own DIY-style fence so that you can enjoy the privacy and security that comes from owning a beautiful new enclosure.
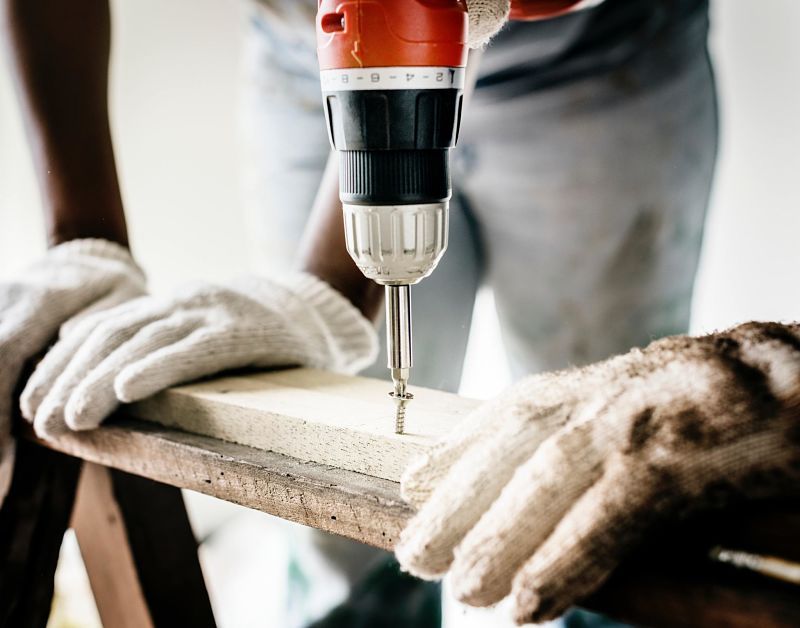
Tools Needed:
-Measuring tape (or yardstick)
-Leveler or plumb bob/chalk line for marking level lines on the ground.
-Stakes, string and stakes to mark out posts locations before digging them into the ground.
-Shovels and spades for digging post holes. You may also need a pickaxe if there are rocks in your soil that you have to remove first. Use a concave blade shovel if you find many roots obstructing your path because they can be cut down without effort with this implement's curved tip.
The best tool is one that fits snugly against what it will be cutting so as not to damage garden beds with wide handles when slicing through the soil.
-Posthole diggers used for digging the holes.
-Metal posts, metal post driver with a heavy duty hammer or sledgehammer and some stakes to help secure them in place until more concrete can be poured into them.
-Concrete mix, water, plastic sheets (to protect your lawn), wheelbarrow and bricks/blocks for reinforcing corners of fence if need be.
Once you have all your tools ready to go, determine where you want your posts to go and then dig a post hole for each one.
We recommend digging at least two feet deep, but if the soil is soft or loose it may be better to go as deep as four.
Push the bottom of the metal posts into this hole so that they are standing straight up with an inch or two left over above ground level.
Be sure not to push too hard on them when doing this step because using these tools could make them bend out of shape which would affect their stability later. Fill in around each one's base with concrete mix and let dry before attaching any wires or vinyl fencing panels onto them.
Once all your holes have been dug, find the appropriate length of fence post (depending on the height you wish your fence to be), and push it into the hole so that there is about two inches of metal post exposed above ground.
Wire can be cut to length and wrapped around each post, then wire-ties are used to secure them in place at certain intervals, depending on the number you use.
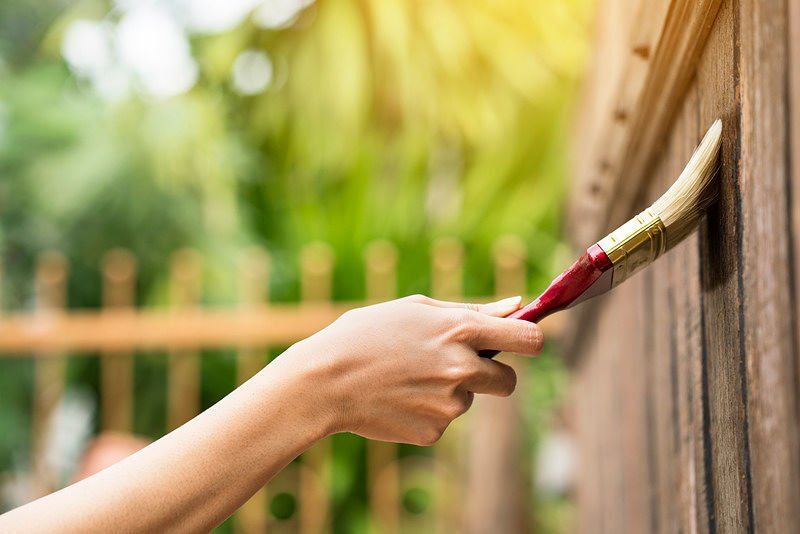
Vinyl fencing panels can also be attached using vinyl screws or plastic ties over these wires for a more finished look.
Post caps should go over both ends when this step is complete - one end will have been pushed through while attaching wiring, but if not an additional cap can always be made from wood following your desired specifications which would cover just the top of the fence post where vinyl attaches.
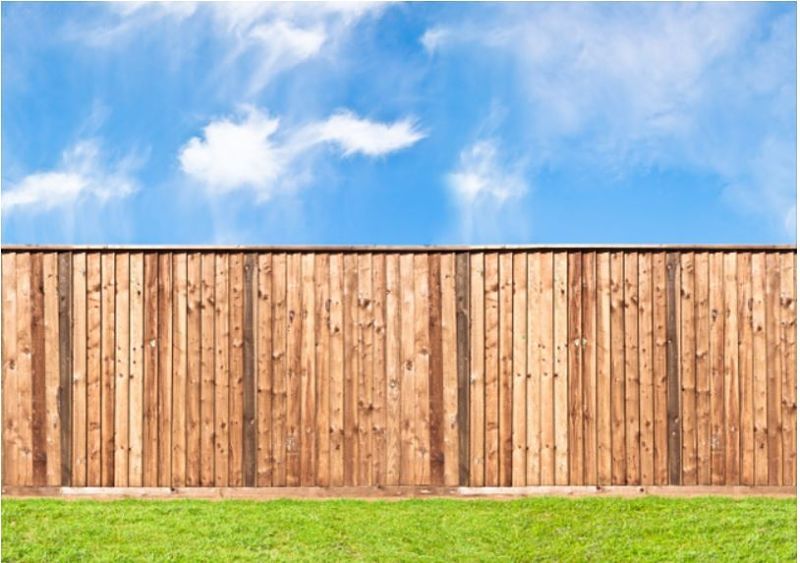
This completes installation!
Of course you could always get our team of fencing professionals to help out with the process. With our years of experience and high skilled team, we'll be delighted to get your fence installed in no time at all.
Just give us a call for a free no obligation quote.
Call Today